Hey there! If you’re like me and can’t resist the heavenly combination of coffee and cheesecake, then you’re in for a treat! Today, I’m thrilled to share my recipe for a creamy coffee cheesecake that’s both rich and silky. It’s perfect for coffee lovers or anyone who wants to impress their friends with a delicious dessert! Plus, it’s surprisingly easy to make—so grab your apron and let’s dive in!
Nutritional Benefits of Coffee Cheesecake
This creamy dessert not only satisfies your sweet tooth but has a few perks too! Coffee, especially in moderation, can help boost your mood and keep you energized. Cream cheese offers protein and calcium, which are essential for our bones. While this cheesecake is indulgent, it also gives you a little bit of that coffee kick along with a creamy delight. Remember, the key is moderation; you can enjoy a slice of this cake without any guilt!
Adapting Your Cheesecake for All Needs
- Gluten-Free Option: If you need a gluten-free version, simply swap out regular graham crackers for gluten-free ones or use ground nuts as a crust base.
- Dairy-Free Version: For dairy-free bliss, you can use coconut cream in place of heavy cream and dairy-free cream cheese. Just be mindful of the flavor as it may differ a bit!
- For a Decaf Delight: If you still crave that coffee flavor without caffeine, just use decaffeinated coffee for the filling; you’ll still get that amazing taste without the energy boost!
Easy Creamy Coffee Cheesecake Recipe
Ingredients
- 1 ½ cups graham cracker crumbs
- ½ cup unsalted butter, melted
- 2 cups cream cheese, softened
- 1 cup powdered sugar
- 1 cup heavy cream
- ½ cup brewed coffee, cooled
- 1 tablespoon coffee liqueur (optional)
- 1 teaspoon vanilla extract
- ½ cup semi-sweet chocolate chips (for ganache)
- ½ cup heavy cream (for ganache)
- Chocolate shavings or grated chocolate for garnish
- Whole coffee beans for garnish
Cooking Instructions
- Prepare the Crust: Preheat your oven to 350°F (175°C). In a mixing bowl, combine the graham cracker crumbs and melted butter until well mixed. Press this mixture firmly into the bottom of a 9-inch springform pan. Bake the crust for about 10 minutes, then remove and let it cool completely.
- Make the Cheesecake Filling: In a large bowl, use an electric mixer to beat the softened cream cheese until it’s creamy and smooth. Gradually add the powdered sugar and continue to mix until it’s all combined and lump-free. Slowly pour in the cooled brewed coffee, coffee liqueur (if using), and vanilla extract, mixing until well combined. In a separate bowl, whip the heavy cream until you see stiff peaks. Gently fold the whipped cream into the cream cheese mixture until just combined. This keeps it light and airy!
- Assemble the Cheesecake: Now it’s time to pour your luscious cheesecake filling over the cooled crust. Smooth the top with a spatula. Cover the springform pan with plastic wrap and place it in the refrigerator to set for at least 4 hours, or overnight if you can resist! Trust me; the waiting will be worth it.
- Prepare the Ganache: In a small saucepan, heat ½ cup of heavy cream over medium heat until it starts to simmer. Remove it from the heat and stir in the semi-sweet chocolate chips—let it sit for about a minute and then stir until it’s smooth and shiny.
- Finish the Cheesecake: Once your cheesecake has fully set, carefully pour the chocolate ganache over the top, spreading it evenly with a spatula. Return the cheesecake to the refrigerator for an additional 30 minutes to let the ganache firm up.
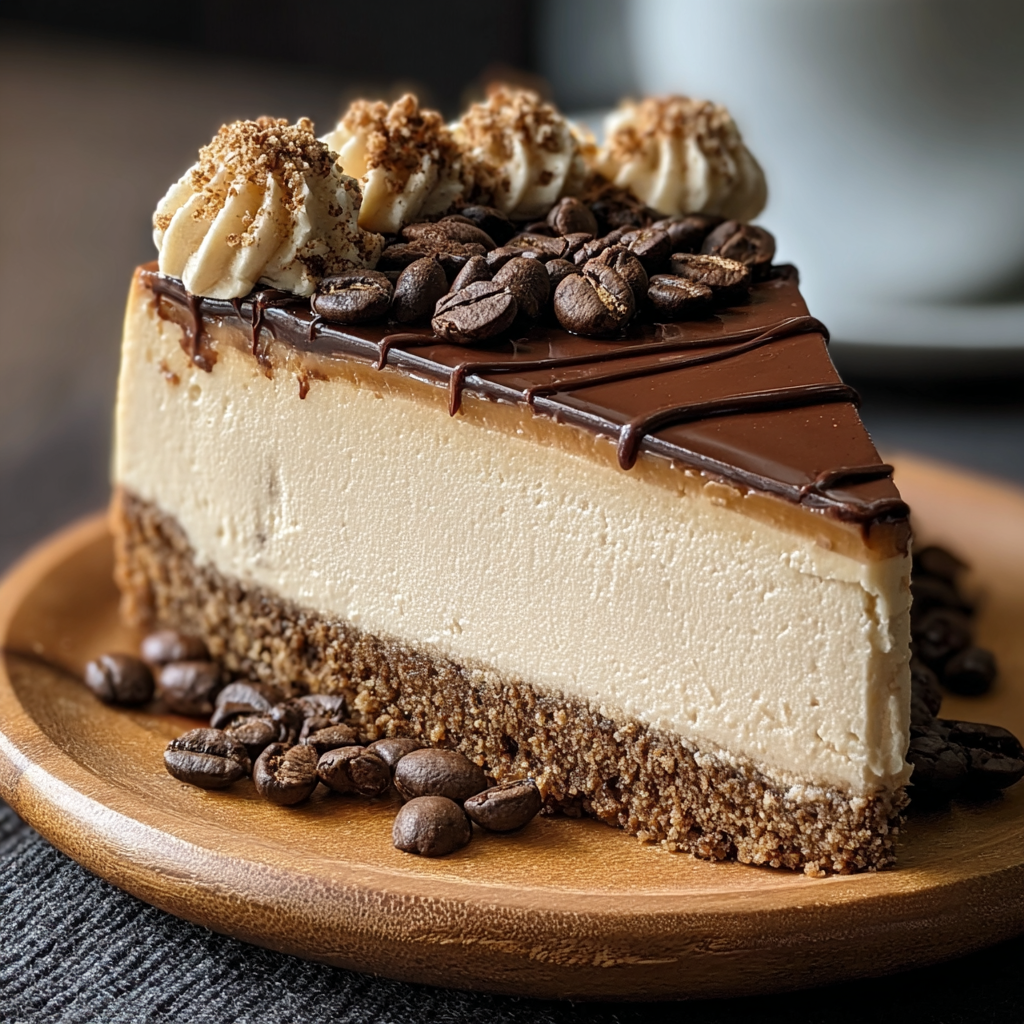
- Garnish and Serve: Before serving, get creative! Decorate the top with chocolate shavings or grated chocolate, add sweet dollops of whipped cream, and sprinkle a handful of whole coffee beans for that lovely coffee-chic look. Now, carefully release your cheesecake from the springform pan, slice it into wedges, and serve. Enjoy this rich coffee lover’s dream!
Practical & Valuable Tips
- Make sure your cream cheese is at room temperature before you start; this helps avoid lumps and makes mixing easier!
- Track the setting time! For the best flavor and texture, allow the cheesecake to chill for the recommended time so it can solidify perfectly.
- If you have leftovers (which I hope you do because it’s that good!), store them in an airtight container in the fridge for up to 5 days.
Equipment Needed
Here’s a handy list to ensure you’re well equipped for this passion project:
- A 9-inch springform pan
- Mixing bowls (one big for the filling, one medium for whipping cream)
- An electric mixer or a whisk (if you’re feeling strong)
- A spatula for smoothing
- A small saucepan for making ganache
- A measuring cup for accuracy
- Plastic wrap to cover your cheesecake when it’s chilling
Frequently Asked Questions
- Can I use instant coffee instead of brewed coffee? Yes, you can! Just mix the instant coffee with hot water according to package instructions, then chill it before adding it into your filling.
- How do I know if my cheesecake is set? The cheesecake should have a firmer texture but still have a slight jiggle in the center. That’s perfect!
- Can I skip the ganache? Totally! This cheesecake is already delicious on its own even without the chocolate topping. But, if you’re a chocolate lover, I encourage you to add it!
- How can I make this cheesecake more coffee-flavored? You can increase the amount of brewed coffee or add a stronger coffee liqueur for an extra kick!
- Can I freeze this cheesecake? Yes, you can! Just wrap it tightly in plastic wrap and aluminum foil. It’ll stay good in the freezer for a couple of months. Thaw it in the fridge before serving.
Did you whip up this creamy coffee cheesecake? I’d love to hear what you think! Share your baking journey on Pinterest and tag me—let’s spread the love for this sweet treat together!