Welcome to Sous Vide Heaven!
Hey there, fellow food lover! If you’re looking to impress your family or friends with some absolutely delicious, fall-off-the-bone tender ribs, you’ve landed at the right place! Today, I’m going to walk you through the magical world of sous vide cooking. You’ll find that these ribs come out juicy, flavorful, and oh-so-tender. Plus, the best part? You don’t need to hover around a grill all day to achieve BBQ perfection.
The Nutritional Benefits of Ribs
Did you know that pork ribs can provide some fantastic nutritional benefits? They’re a great source of protein, which is essential for building and repairing tissues in our bodies. Plus, when you control the ingredients—like in this sous vide recipe—you can enjoy delicious ribs while keeping an eye on sodium and sugar levels! You can opt for a healthier BBQ sauce or even pair them with fresh veggies for a balanced meal.
Adaptable Variations to Try
- Spice it Up: If you love a kick, feel free to increase the cayenne in the dry rub or add some chili powder. Go as spicy as you like!
- In a Time Crunch: If you want to make these ribs but don’t have 24 hours, you can sous vide them at 165°F (74°C) for 12 hours instead. You’ll still get tender results but with a bit less prep time.
- Herb Additions: Try incorporating fresh herbs like thyme or rosemary in your dry rub for an aromatic twist!
24-Hour Sous Vide Ribs Recipe
Ingredients List
- 1 rack of baby back pork ribs (St. Louis-style works too)
- 1/2 tablespoon olive oil
- 3/4 cup pork dry rub* (see below for dry rub ingredients)
- 1/2 cup BBQ sauce, or more, to taste
*Pork Dry Rub Ingredients:
- 1 tablespoon brown sugar
- 1 tablespoon paprika
- 1 tablespoon garlic powder
- 1 tablespoon onion powder
- 1 teaspoon ground black pepper
- 1 teaspoon cayenne pepper (optional, for heat)
- 1 teaspoon salt
Step-by-Step Cooking Instructions
- Prepare Your Sous Vide Equipment: Fill a large pot or cooler with water and attach your sous vide immersion circulator. Set the temperature to 152°F (67°C) and let it preheat while you prep the ribs.
- Make the Dry Rub: In a medium bowl, combine all the dry rub ingredients: brown sugar, paprika, garlic powder, onion powder, ground black pepper, cayenne (if you like some heat), and salt. Mix it all up and set it aside.
- Prepare the Ribs: Take the ribs out of the packaging and place them on a large baking sheet. Cut the rack in half with a sharp knife, then flip them over to remove the white membrane. You can pull it off carefully and just discard it.
- Season the Ribs: Take about 1/2 cup of your dry rub and generously season the front and back of the ribs. Make sure to really massage that rub into the meat! It’s where all the deliciousness comes from.
- Package the Ribs: Place each half rack into a separate vacuum-seal bag. Make sure to remove as much air as possible before sealing. If you don’t have a vacuum sealer, high-quality zipper bags will work just fine, too!
- Get Cooking: Submerge those bags into the preheated sous vide water bath. Use bag clips or clothespins to secure them to the side of the pot. Covering the pot with tin foil helps prevent evaporation. Set your timer for 24 hours.
- Check Water Level: Every 6-12 hours, pop in to check the water level. Top it off with hot water as necessary to keep the ribs submerged.
- Finish Cooking: Once the 24-hour mark hits, carefully take the bags out of the water bath. Cut them open using scissors, discarding the juices. Place the ribs on a paper towel to blot away any excess moisture.
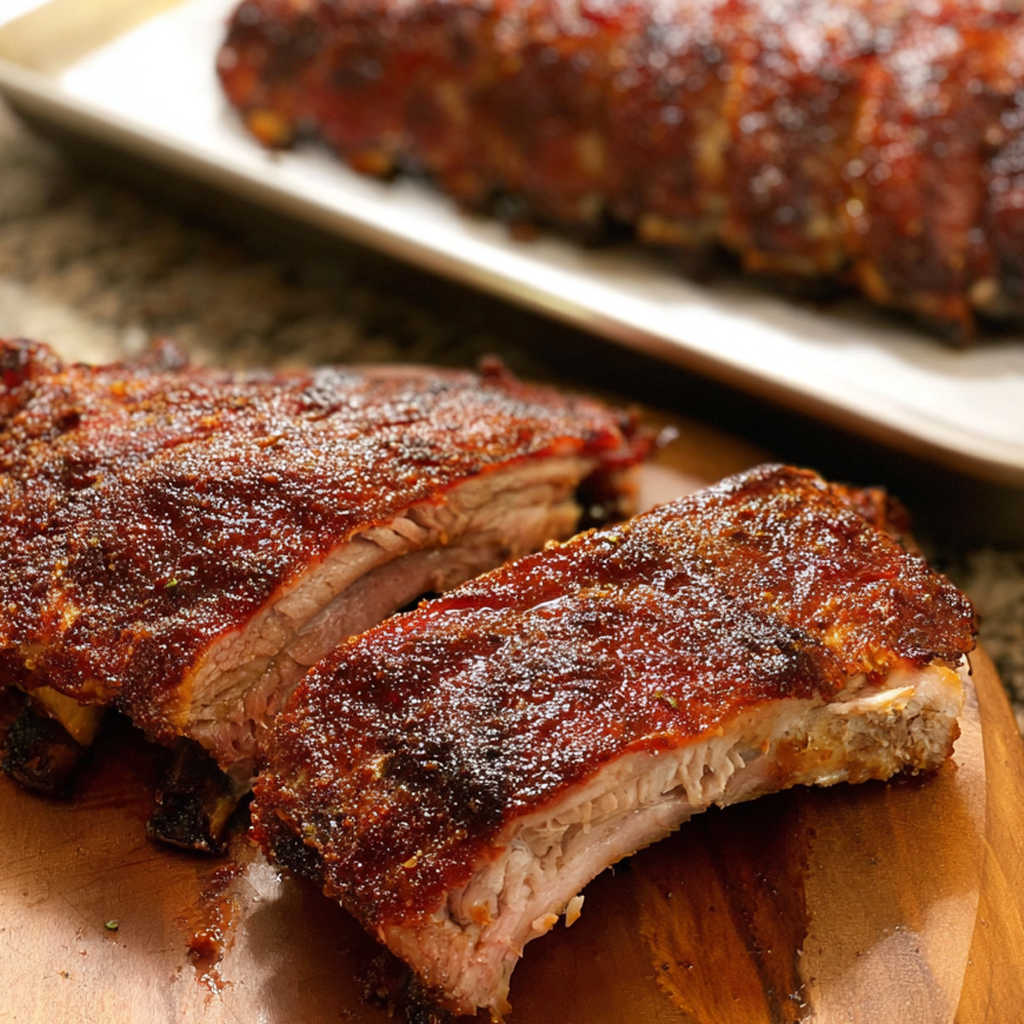
- Re-Season for Extra Flavor: Sprinkle the remaining 1/4 cup of dry rub on both sides of the cooked ribs.
- Add BBQ Sauce: Use a brush to apply a layer of your favorite BBQ sauce on both sides of the ribs—get as saucy as you like!
- Preheat the Grill: Fire up your grill to 450°F (232°C). Make sure the grates are lightly oiled or sprayed with nonstick cooking spray. If the ribs are cool, heat your grill to 350°F for about 10 minutes before adding those ribs.
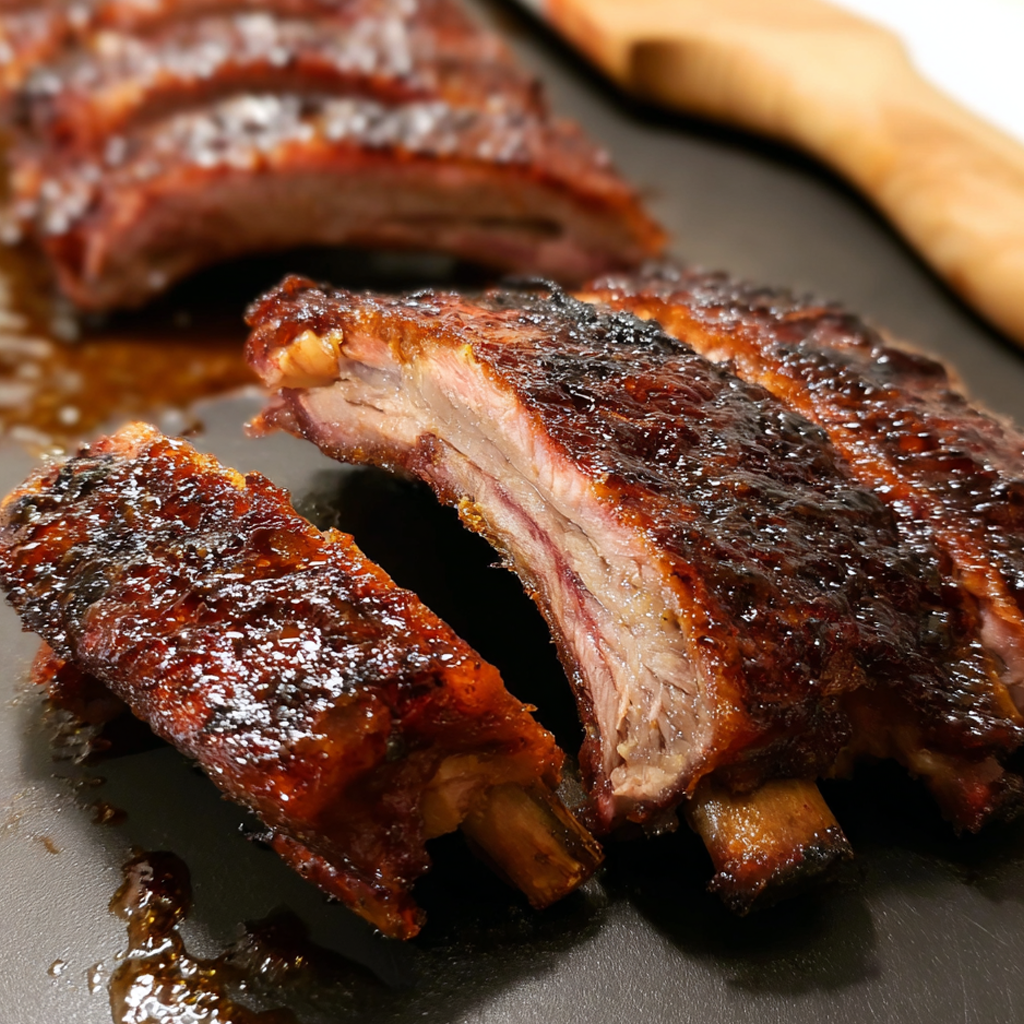
- Grill to Perfection: Grill the ribs for 5-6 minutes on each side until they get a beautiful charred edge. Ah, the smell of grilling is just heavenly!
- Rest and Serve: Let those ribs rest for about 5-10 minutes before slicing. Now you’re ready to serve up some sous vide BBQ perfection!
Practical & Valuable Tips
- Want extra crispy edges? Make sure your grill is nice and hot! The higher temp helps caramelize the BBQ sauce beautifully.
- Store any leftovers in an airtight container in the fridge for up to 3 days—or freeze them for up to 3 months.
- If you don’t have a sous vide, you can still slow cook the ribs in an oven at low temperature for similar results, though it won’t be quite the same.
Equipment Needed
Gather these tools before you start cooking:
- A sous vide immersion circulator
- A large pot or cooler
- Vacuum-seal bags or high-quality zipper bags
- A sharp knife
- Medium mixing bowl
- Measuring cups and spoons
- A grill for finishing touches
- Cooking spray or olive oil for the grill
Frequently Asked Questions
- Can I use other types of ribs? Absolutely! Baby back and St. Louis-style ribs are great, but you can also use spare ribs if you prefer.
- Can I sous vide for less than 24 hours? Yes, you can cook them for 12 hours at 165°F for a tender result, though 24 hours at 152°F provides the best texture.
- How do I store leftovers? Place them in an airtight container in the fridge for up to 3 days, or seal them and freeze for up to 3 months.
- Can I add my own spices to the dry rub? For sure! Feel free to customize the dry rub to your liking by adding your favorite herbs and spices.
- Is there a vegetarian version? While ribs are meat-based, you can try this sous vide method with vegetable substitutes like eggplant for a creative take!
Join Me in the Kitchen!
Did you try making these ribs? I would absolutely love to hear how they turned out for you! Share your sous vide success stories or favorite BBQ tips with me! And hey, don’t forget to follow me on Pinterest for more mouth-watering recipes and cooking adventures. Happy cooking!